23rd January 2020
Producing high-quality architectural visualisations is often seen as a purely creative task, and whilst we agree for the most part, without proper structure and communication, images may miss delivery dates or not meet client objectives. This article explains each phase in the production of a typical 3D rendering project. Understanding these high-level steps, allows clients to get the most out of working with a visualisation studio.
It is worth starting by mentioning timeframes. Although every visualisation project is unique and has its specific requirements. Allow up to 3 weeks for standard projects (1-6 images) and 4+ weeks for larger projects (7+ images). We understand that sometimes this is not possible, and accept expedited projects on a case by case basis. Please contact us for more details.
The production process breaks down into the following phases:
Clients have the opportunity to provide feedback at each of the three preview stages. We ask that client reviews are completed in a maximum of 48 hours, this ensures there is no delay in the project delivery schedule.
To begin the process we ask a few questions to get an understanding of the project.
With this information, we produce a proposal including our approach, a cost breakdown and estimated timeframe.
At this stage, we need to know if a project requires additional preview stages, bespoke modelling (furniture, buildings, etc.) or ultra high-resolution outputs. This is because we calculate costs by estimating the time required to complete a project, on the basis that the regular workflow is followed. As these elements are additional, they will increase the time and impact on the costs.
Once the proposal is approved, the project is scheduled into production and a welcome pack is sent out. The welcome pack is a snapshot of key information about the project. This includes its deliverables and a phased delivery schedule. At this stage, we will request the files that are required for us to begin. We will also ask some questions to ensure we fully understand the objectives and artistic direction.
Here is a typical list of requirements for this stage:

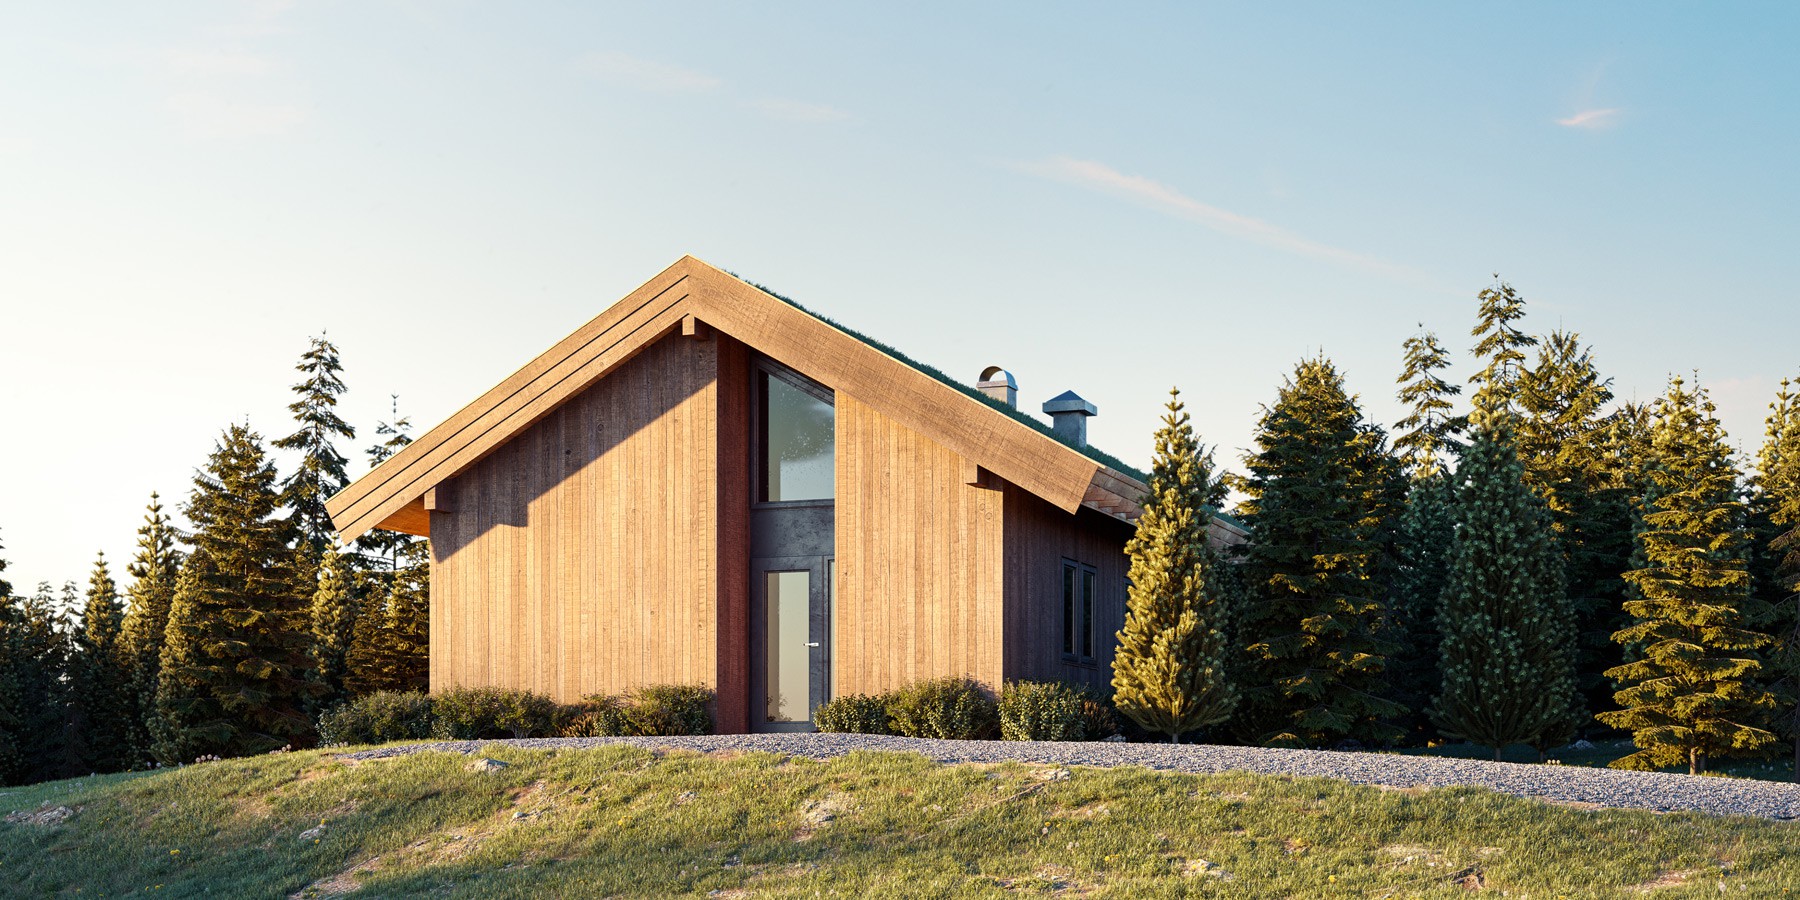
Production of the CGIs begins! A basic lighting setup is added to the 3D model. Then, just like a photographer, we explore the scene looking for interesting camera angles and compositions. Our favourites are selected, rendered at preview resolution (typically 2000 pixels) and sent to the client. The main purpose of this stage is to establish the composition that best fits the vision of the project.
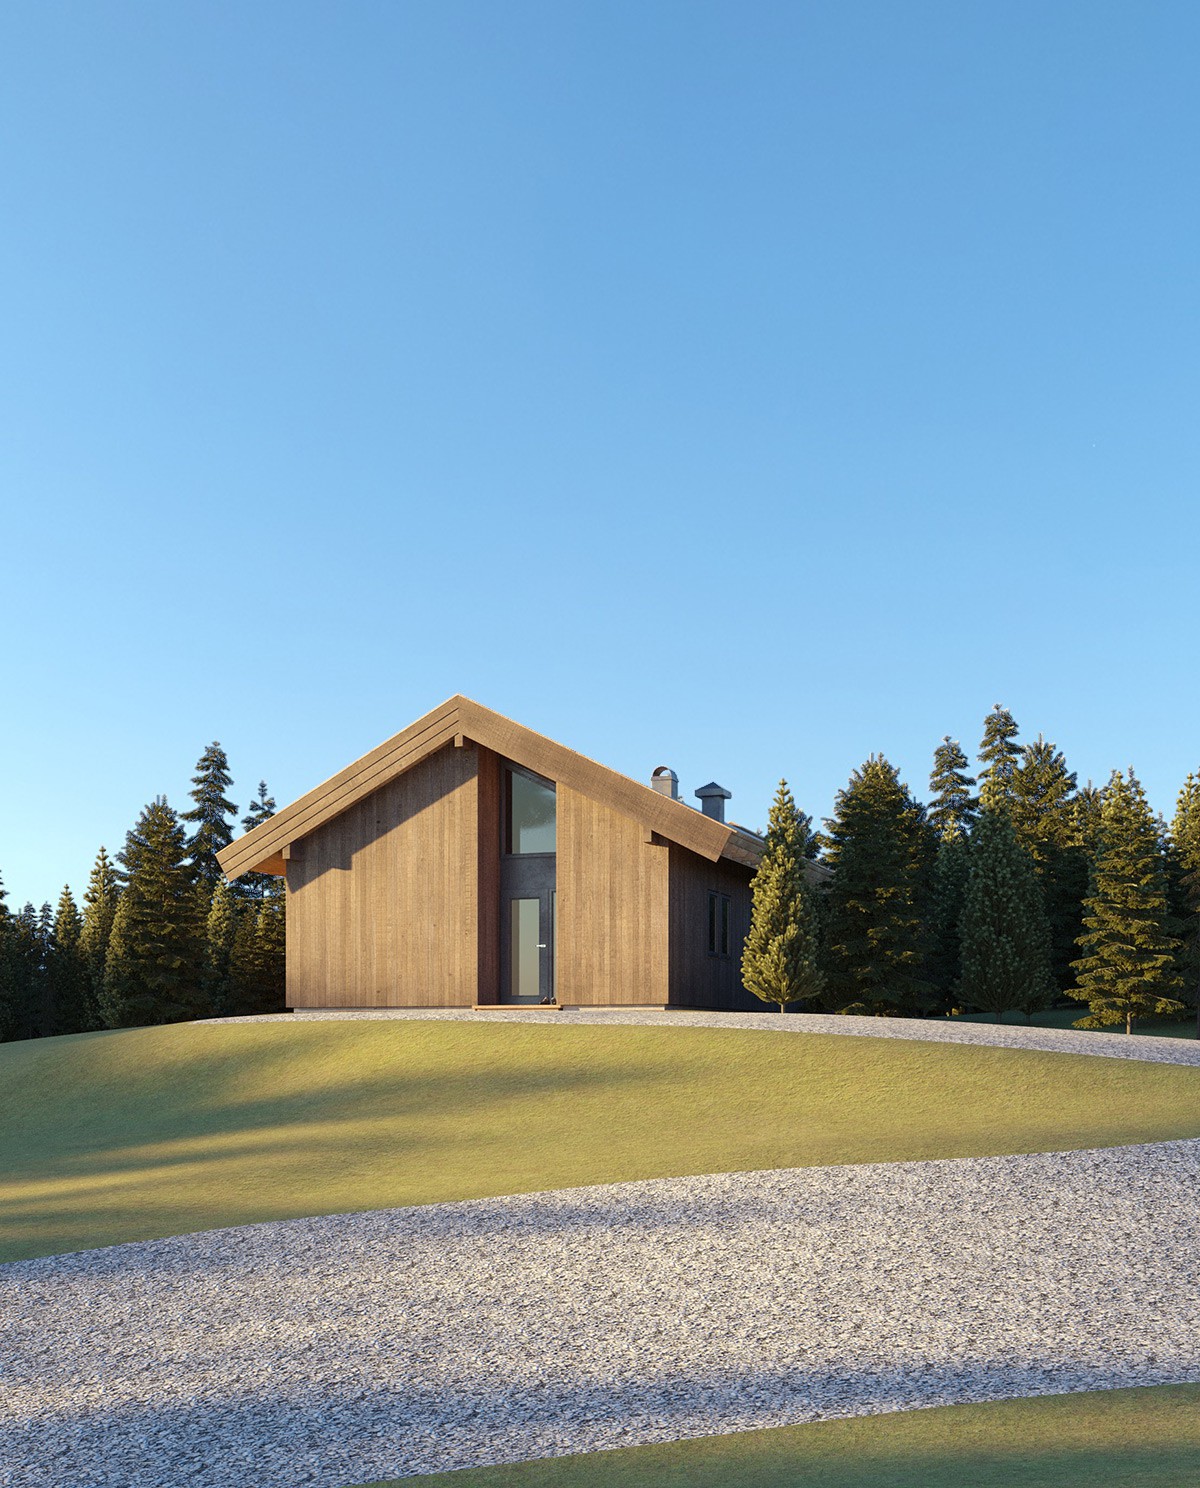
Once a camera angle is selected, we add basic materials and refine the lighting setup. Then another preview is rendered and sent to the client.
At this stage, we look for feedback on major elements such as:
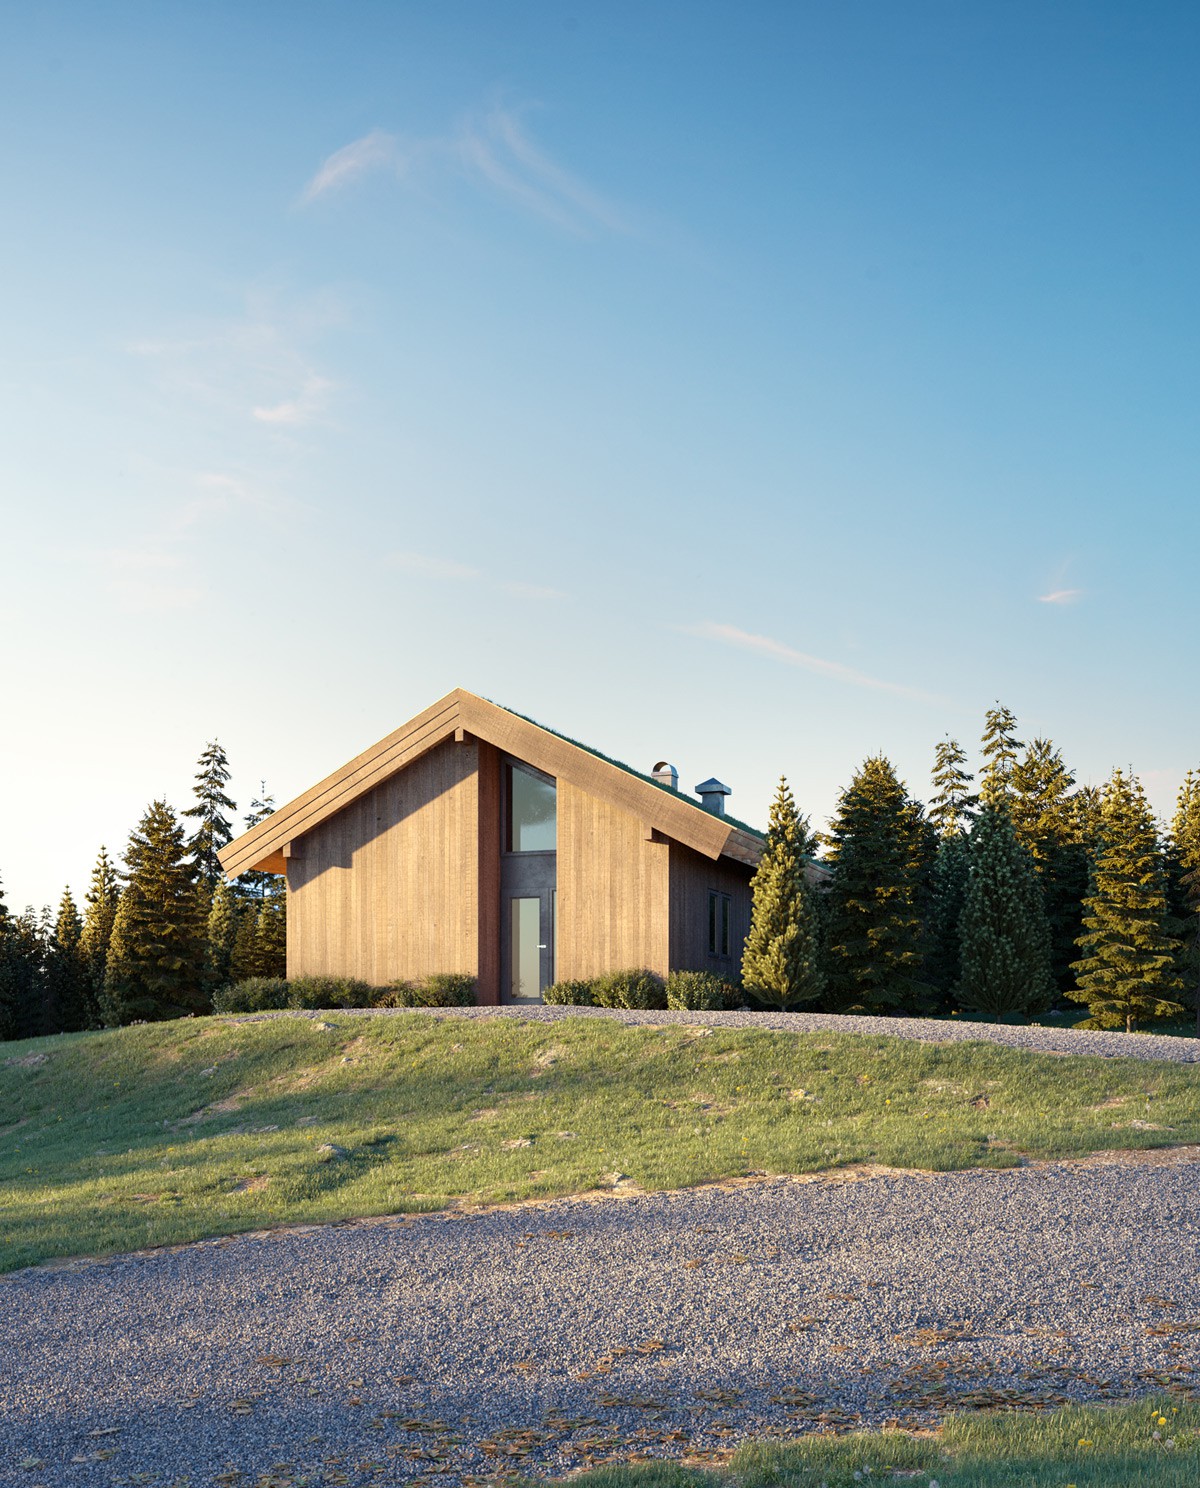
Feedback from the previous phase is addressed. A preview is once again rendered at preview resolution and sent to the client. This preview is close to the final version in terms of visual quality. It includes detailed textures, secondary elements (people, cars, etc.) and improved post-production.
At this stage, we look for feedback on detailed and artistic elements such as:
Please note: elements that were previously approved cannot be amended without incurring additional costs.
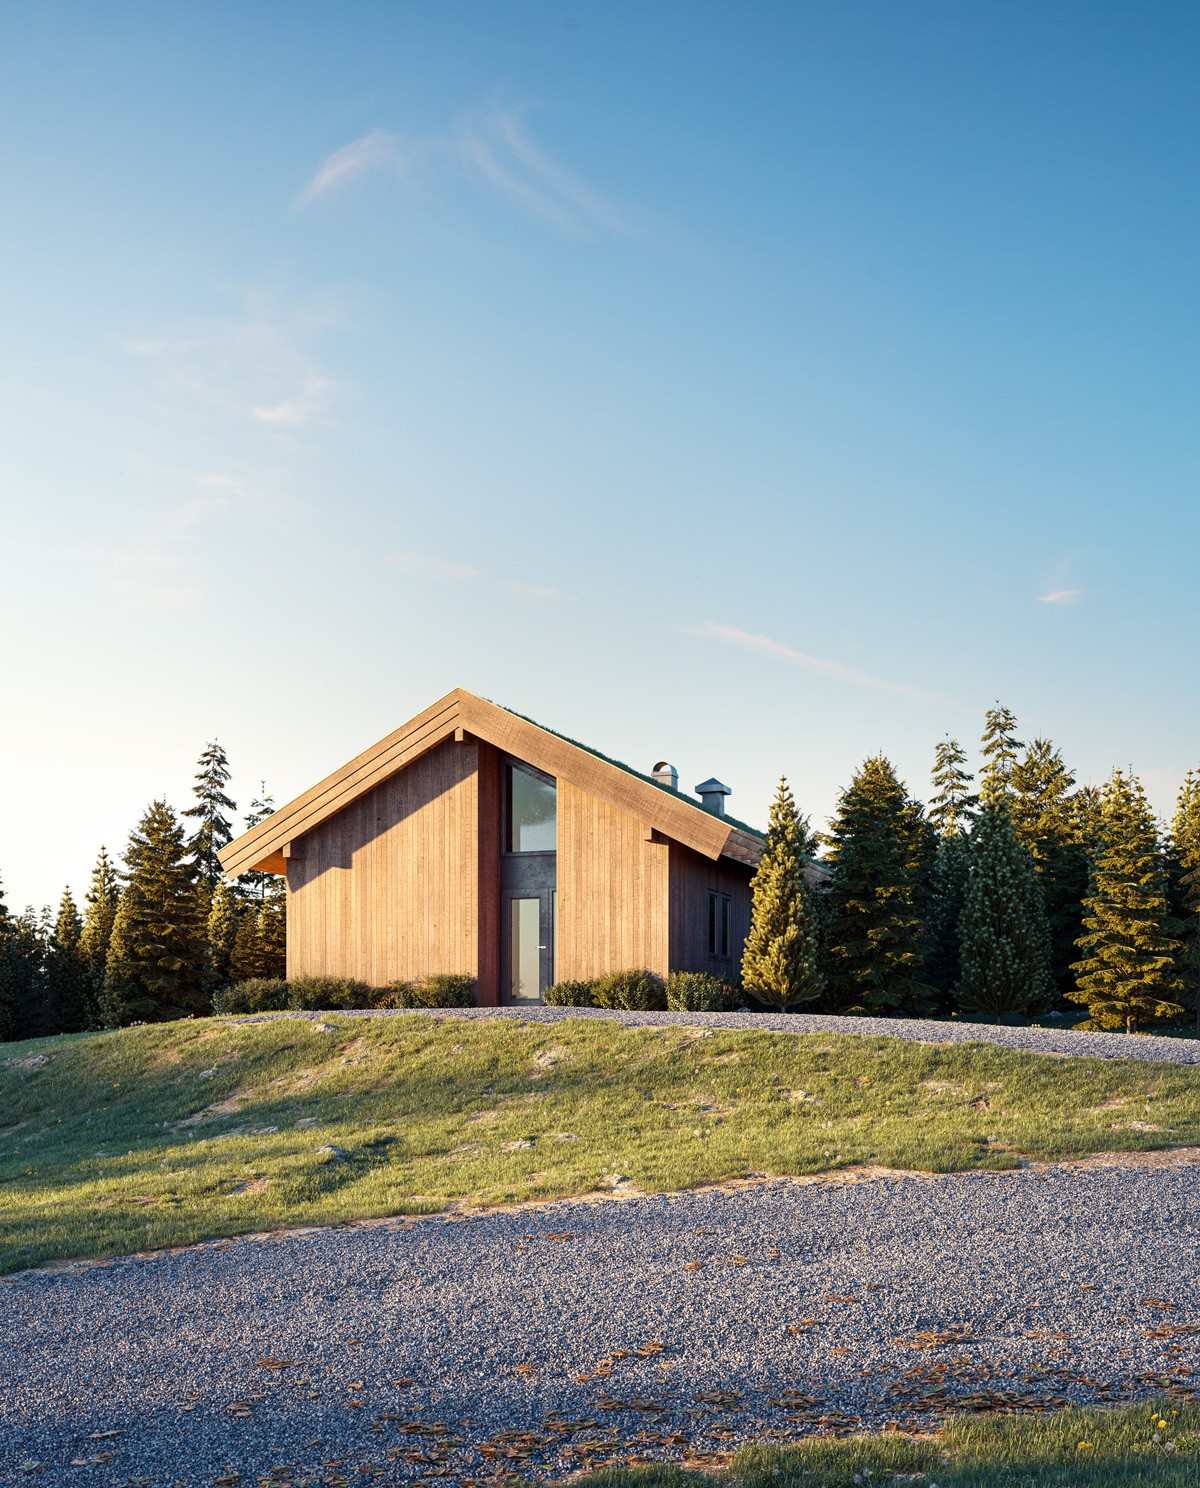
Finally, we ensure all previous feedback has been addressed. Then after adding some final polish, render the CGI at full production resolution (typically 4000 pixels on the longest dimension). It is then sent for final approval.
So that’s it! A complete outline of our architectural visualisation workflow. However, it is worth keeping in mind that phases can be adapted or added to suit particular needs. This must be agreed before project commencement.
Although this article focusses on the production of still CGIs, our animations follow a very similar phased delivery schedule, with the addition of phases for storyboarding and pre-visualisation. Another difference with animation work is the timeframe, it depends on the length and complexity, but animations generally take longer than still visualisation projects.
Let us know what you think! Would you like to see more content like this? Or have you got a question for us? Either way, we look forward to hearing your thoughts and continuing the discussion.
Alternatively, if you want to talk about career opportunities, discuss an upcoming project, or just say hi, we would love to hear from you too!